
Slow Cooker Homemade Yogurt
Plain yogurt made from two ingredients in a slow cooker, cultured overnight with no special equipment.
Why You'll Love This Recipe
Yogurt is milk plus bacteria plus time held at the right temperature, and a slow cooker turns out to be very good at the temperature part. The ceramic crock holds heat for hours after the element goes off, which is exactly the slow steady cooling that cultures want. No yogurt maker, no thermometer bath, no oven light left on overnight. The one number worth watching is the temperature when the starter goes in, since anything much above blood heat kills the cultures you are trying to feed.
Two ingredients is the whole list, and the second one is a quarter cup of yogurt from a container you already have. Once you have made a batch you can culture the next one from it, which means the ongoing cost of this is milk and nothing else. Check that the tub you start from says live or active cultures on it, since a heat-treated yogurt has nothing left in it to do the work.
What you get is plain unsweetened yogurt, which is harder to buy well than you would expect. Most tubs on the shelf carry added sugar even when the front of the label suggests otherwise, and the plain ones are often thickened with starch or gelatin. This is just milk that has turned, so it will be looser than a commercial tub, and straining it through a cloth for an hour is what takes it the rest of the way to Greek-style if that is what you are after.
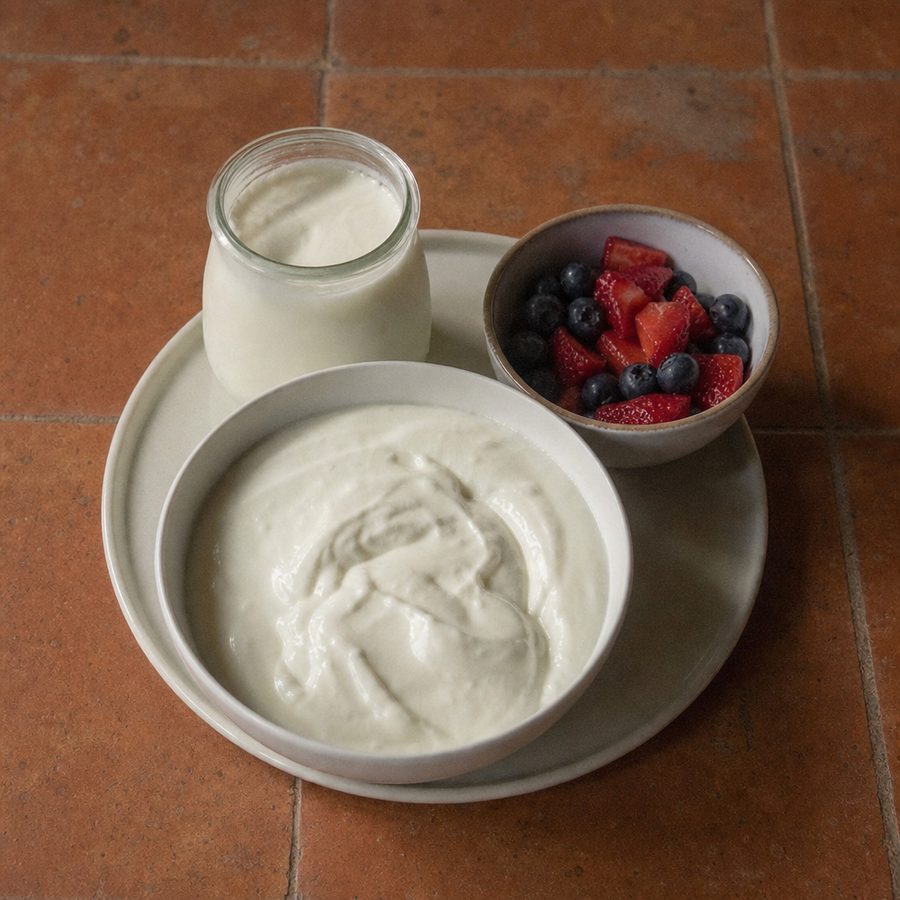
Ingredients
- 8 cups milk
- 1/4 cup plain yogurt with live active cultures, at room temperature
Instructions
- Heat the milk: Pour the milk into a clean 6-quart slow cooker, cover, and cook on low for 2 1/2 hours. You are bringing it to about 180°F (82°C), which changes the milk proteins so the finished yogurt sets thick rather than grainy.
- Let it cool: Turn the cooker off and unplug it. Leave the lid on and let it sit for 3 hours, until the milk drops to about 110°F (43°C). It should feel warm on the inside of your wrist and not hot.
- Temper the starter: Whisk the quarter cup of yogurt with about a cup of the warm milk in a small bowl until completely smooth, then pour that mixture back into the crock and stir it through gently.
- Wrap and wait: Put the lid back on, wrap the whole cooker in a large bath towel, and leave it undisturbed on the counter for 8 to 12 hours. Overnight is the easiest version of this.
- Check the set: In the morning it should be set like a soft custard with a little clear whey pooled at the edges. Longer means tangier, so if you want more sourness give it another 2 hours before you move it.
- Chill it: Transfer the yogurt to jars without stirring it more than you need to, and refrigerate at least 4 hours. It firms up considerably as it chills, so judge the final texture cold rather than warm.
Variations
- Greek style: Strain the finished yogurt through cheesecloth or a coffee filter for 2 to 4 hours in the refrigerator. You lose about a third of the volume as whey and what stays behind is thick and roughly half again as high in protein.
- Vanilla: Stir a split vanilla bean into the milk during the heating step and fish it out before the starter goes in. It perfumes the whole batch without adding anything sweet.
- With fruit: Spoon fruit into individual bowls rather than into the jar. Fruit stirred into the whole batch shortens its life in the refrigerator considerably.
- Thicker without straining: Whisk a third of a cup of whole milk powder into the cold milk before heating. It raises the solids and gives a firmer set with no straining and no lost volume.
- Savory: Salt a portion and stir in minced garlic, cucumber and dill for a raita or tzatziki. Homemade yogurt is tangier than most store tubs, which suits savory uses well.
Storage & Leftovers
Refrigerate in covered jars for up to 2 weeks. The tang deepens slowly the whole time, so a jar at day twelve tastes noticeably sharper than the same jar at day two.
Save a quarter cup from each batch to start the next one, and keep that portion in its own small jar so nobody eats it. After about five generations the culture weakens and it is worth starting again from a fresh store-bought tub.
Yogurt does not freeze well as yogurt because the texture breaks, but it freezes fine for smoothies or baking. Portion it into an ice cube tray and bag the cubes once solid.
Notes & Tips
- Start clean: Wash the crock, the lid and the whisk in hot soapy water and dry them well. You are cultivating one set of bacteria, and stray ones compete with it.
- Temper the starter: Dumping cold yogurt straight into warm milk leaves lumps that never disperse. One cup of milk whisked into it first solves that completely.
- Wrap it well: The towel is not optional in a cool kitchen. It is the difference between the crock holding culturing temperature for eight hours and dropping out of range in three.
- Do not stir it while it sets: Movement breaks the curd as it forms. Once the starter is in, leave the pot alone until morning.
- Longer is tangier: The culturing window is a dial, not a deadline. Eight hours is mild and twelve is sharp, so make a note of what you did and adjust next time.
- Keep the whey: The clear liquid on top is protein-rich and useful. Stir it back in for a looser yogurt, or save it for smoothies and bread dough.
Nutrition & Mindful Eating
- A serving carries steady protein and enough calcium to make a real dent in what most adults need in a day, which is what milk cultured this way does well.
- The sugar listed here is lactose, the sugar that occurs naturally in milk. Culturing converts some of it to lactic acid, so the finished yogurt is slightly lower in sugar than the milk it started as and there is no added sugar anywhere in it.
- Live cultures are the reason to make this rather than buy it. Yogurt cultured at home and eaten within two weeks carries a large and living population of them, which is not always true of a tub that has sat in a distribution chain.
- Some people who do poorly with milk handle yogurt comfortably, because the bacteria consume a portion of the lactose during culturing. A longer culture leaves less of it behind.
- Straining this into Greek-style yogurt raises the protein per cup by roughly half while removing some of the lactose along with the whey, which is worth knowing if protein at breakfast is what you are after.
- As you eat, notice the tang arriving after the creaminess rather than with it, and how much of the flavor comes from something you did nothing to except wait.
Frequently Asked Questions
Do I need a thermometer?
It helps, and an instant-read one costs very little. Without it, use your wrist. Too hot to hold a clean finger in comfortably means wait longer, because heat above about 120°F (49°C) kills the cultures and you will end up with warm milk in the morning.
What yogurt should I use as a starter?
Any plain yogurt whose label says live active cultures. Avoid anything flavored, sweetened or heat-treated after culturing. Greek yogurt works and is what these numbers are based on, though it makes very little difference at a quarter cup.
Can I use different milk?
Whole milk gives a richer thicker set and skim gives a thinner one, and both work. These numbers are for 2%. Ultra-pasteurized milk is the one to avoid, since it often refuses to set properly.
Mine did not set, what happened?
Almost always the milk was too hot when the starter went in, or the starter was old. Occasionally the room was too cold overnight. Failed yogurt is still perfectly good milk, so use it in pancakes or oatmeal and try again.